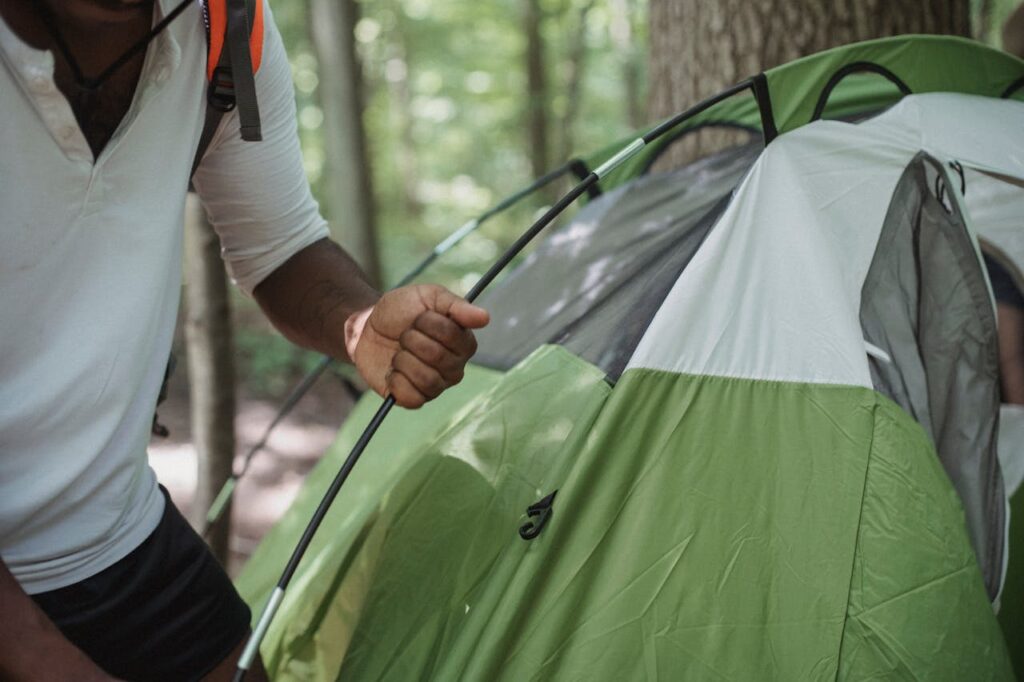
Pitching a tent—it sounds intimidating at first, right? I remember the first time I tried it alone; I kept wondering if I was doing it wrong, poking poles through sleeves and thinking, “This can’t be this complicated… can it?” But honestly, once you get a rhythm, it’s really not that tricky. The basics are pretty simple: pick a decent spot, lay out your gear, get the poles in the right place, anchor them, and then throw on the outer rainfly. Different tents have tiny variations, but that’s basically the gist.
A few quick thoughts before we get started: flat ground is your friend. Make sure all your stakes, ropes, and poles are ready, and keep the wind direction in mind. If you’re really out in the wild, a small drainage ditch and maybe a simple outdoor toilet are worth thinking about. Sounds like a lot, but trust me, it’s manageable.
Step-by-Step: Setting Up a Standard Tent

Pick Your Campsite
Start by scanning the area. You want flat-ish ground. Nothing too rocky or sloped. Think about the wind, too—it’s nice to have the entrance facing away from it. Spread the inner tent on the ground. Usually, you do this first, though some tents might ask you to start with the outer layer. Keep all your accessory bags nearby—you’ll thank yourself later when you don’t have to dig through a mess of pegs and poles.
Assemble the Poles
Take out the folded poles and click or slide them together. Sometimes these things are stubborn—especially in cold weather, when your fingers feel like they belong to someone else. Patience here really pays off.
Thread the Poles
Slide the poles through the sleeves, or hook them if that’s how your tent works. Double-layer tents might have a slightly different system. Just make sure each pole ends up where it should. Nothing’s worse than raising a lopsided tent and realizing one pole went through the wrong sleeve.
Raise the Tent
Insert one end of each pole into the corner grommet or pin. Slowly arch it up and slot the other end in the opposite corner. And suddenly—voilà!—your tent is standing. It’s kind of magical, actually, watching a flat piece of fabric turn into a small little home.
Add the Rainfly
Drape the outer layer over the tent and secure it. Don’t worry too much if it’s not perfect. Slight slack isn’t the end of the world.
Secure Guy Lines
Even on calm days, it’s a good idea to stake down the guy lines. Pull them evenly, and your tent will thank you when the wind picks up unexpectedly at night.
Tent Setup for Different Types
1. A-Frame (Triangle) Tent
- Lay the inner tent and stake down the base edges.
- Raise the two vertical poles from inside and connect them with the crossbar.
- Cover with the rainfly and stake all sides.
- Add the rain cap, attach wind ropes, and secure.
Tip: Keep a little gap between the inner and outer layers if your A-frame tent is double-layered. It helps prevent rain seepage and improves insulation.
2. Dome Tent
- Spread the tent and stake the corners (four or six, depending on your model).
- Connect poles according to instructions.
- Thread poles through sleeves or clips, insert one end into the corner, bend, and insert the other end.
- Adjust shape, stake down, and throw on the rainfly if you have one.
Practical Tips
- Always pick firm, flat ground. Avoid dry riverbeds or riverbanks—they can get tricky fast.
- Look for decent drainage: sand, grass, or gravel works best.
- Slightly concave areas are fine, but stay clear of streams or rivers to avoid nighttime chill.
- Tent doors facing south or southeast catch the morning sun nicely.
- Check all poles, stakes, ropes, and sleeves before starting. Keep extras in the tent bag.
- To keep insects away, some people sprinkle a small kerosene circle around the tent—but only if you know what you’re doing.
Precautions to Keep in Mind
- Tent entrance away from the wind. No pitching near loose rocks on slopes.
- Dig small drainage ditches to prevent flooding.
- Weigh down corners with large stones if needed.
- Keep proper ventilation, and never cook inside unsupervised. Fire hazards are serious.
- Double-check all fires are out before sleeping and make sure the tent is secure.
Pitching Order (for multiple tents):
- Start with communal tents.
- Set up kitchen and stove downwind; boil water.
- Upwind, set up storage and sleeping tents.
By the time everything’s done, your water will likely be ready for drinking or cooking—perfect timing.
Simple Outdoor Toilet
- Pick a downwind, slightly lower spot, at least 20 meters from water.
- Dig a rectangular pit, ~30 cm wide, 50 cm long, 50 cm deep.
- Line with stones and pine leaves; enclose three sides with plastic or boxes, leaving the entrance downwind.
- Prepare sand, a shovel, and a cardboard cover.
- After use, cover waste and toilet paper with sand, and close the pit to reduce odor.

Hi, I’m Clara Morgan, and I started this site out of a love for spending time outside—whether it’s backyard gatherings, camping trips, or cozy evenings under the stars. Over the years, I’ve learned that the best memories come from simple, meaningful outdoor experiences rather than expensive vacations or complicated plans.
This website was created to share those experiences and help more people enjoy outdoor living with ease and confidence. Whether you’re a parent searching for safe camping gear, a couple planning a weekend getaway, or someone looking to transform your backyard into a cozy retreat, this site is your go-to resource.
